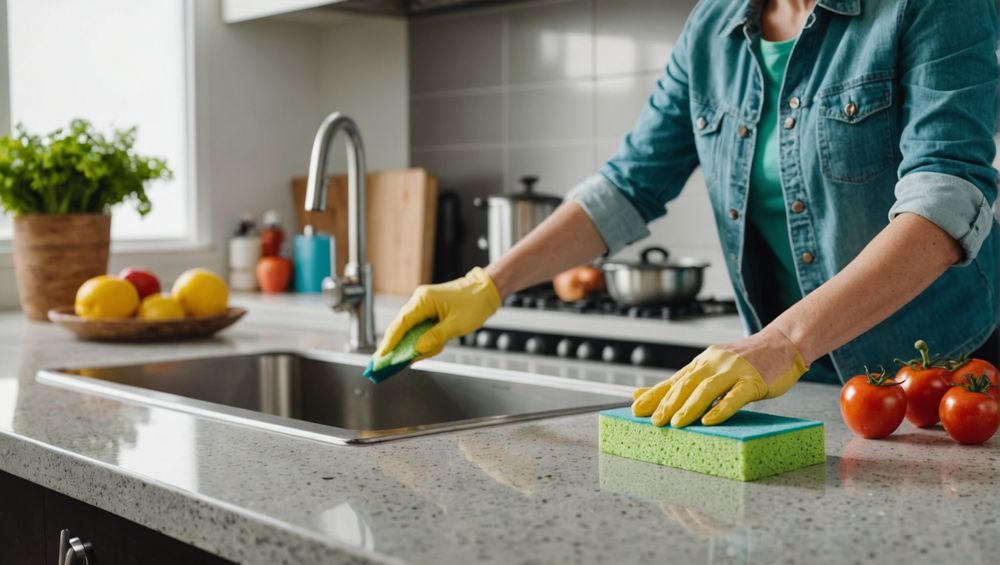
Cleaning your sponge effectively is crucial in maintaining kitchen hygiene and preventing the spread of bacteria. Sponges are notorious for harboring germs, and a dirty sponge can reintroduce bacteria to your clean dishes and surfaces. In this article, we will explore various methods to clean your sponge thoroughly and eliminate bacteria, ensuring your kitchen remains sanitary.
Why It’s Important to Clean Your Sponge

Sponges are prime candidates for bacterial growth due to their porous structure, which can hold onto food particles, moisture, and grime. Over time, this makes them a breeding ground for harmful bacteria like E. coli and salmonella. When you use a dirty sponge to wipe down counters or dishes, you may inadvertently spread these germs further, leading to potential health risks. Regularly cleaning your sponge can significantly reduce this risk and improve overall kitchen hygiene. Furthermore, maintaining a clean sponge not only keeps germs at bay but can also extend the lifespan of your cleaning tools, ultimately saving you money. Below are some compelling reasons to prioritize sponge cleanliness:
- Reduces bacteria and germs in the kitchen.
- Prevents cross-contamination.
- Improves sponge longevity.
- Ensures healthier food preparation.
- Maintains a clean and fresh-smelling kitchen environment.
Cleaning Methods to Kill Bacteria

There are several effective methods for cleaning sponges that can help kill 99% of bacteria. Here are some popular techniques:
- Microwave Method: Just wet the sponge and microwave it on high for about 2 minutes. Make sure there are no metallic parts, and allow it to cool before handling.
- Dishwasher Method: Place the sponge on the top rack of your dishwasher and run a hot cycle with your regular load. The heat and detergent will help sanitize the sponge.
- Vinegar Soak: Soak your sponge in a mixture of equal parts water and white vinegar for about 10 minutes. Rinse it thoroughly afterward.
- Bleach Solution: Create a solution with 1 tablespoon of bleach in a quart of water and soak the sponge for 5-10 minutes. Rinse thoroughly and let it dry.
- Baking Soda Scrub: Make a paste using baking soda and water, use it to scrub the sponge, and then rinse it well.
To ensure the effectiveness of these methods, it’s recommended to clean your sponge at least every few days, especially if it’s heavily used. Choosing the right method will depend on your comfort level and the materials of your sponge.
Signs It’s Time to Replace Your Sponge
Even with regular cleaning, sponges don’t last forever. Being able to identify when it’s time to replace your sponge is crucial to maintaining a clean kitchen. Typically, you should consider replacing your sponge when:
- It develops an unpleasant smell that cleaning can’t eliminate.
- The sponge becomes discolored or stained.
- It feels hard or starts to break apart.
- Even after cleaning, bacteria levels remain high.
- It has visible mold or mildew.
Being proactive in replacing your sponge helps ensure you are not inadvertently spreading germs around your kitchen. A good rule of thumb is to replace your sponge once every month or sooner if it shows signs of wear and tear.
Best Practices for Sponge Maintenance
To keep your sponge in the best condition possible, implementing certain practices into your cleaning routine can be beneficial. Here are some tips to maintain your sponge:
- Rotate sponges with dedicated uses (for dishes, surfaces, etc.) to avoid cross-contamination.
- Store sponges in a dry location to prevent moisture buildup, which fosters bacteria growth.
- Utilize disposable cleaning cloths for quick cleaning tasks.
- Regularly monitor the condition of your sponge to determine when it’s time to act.
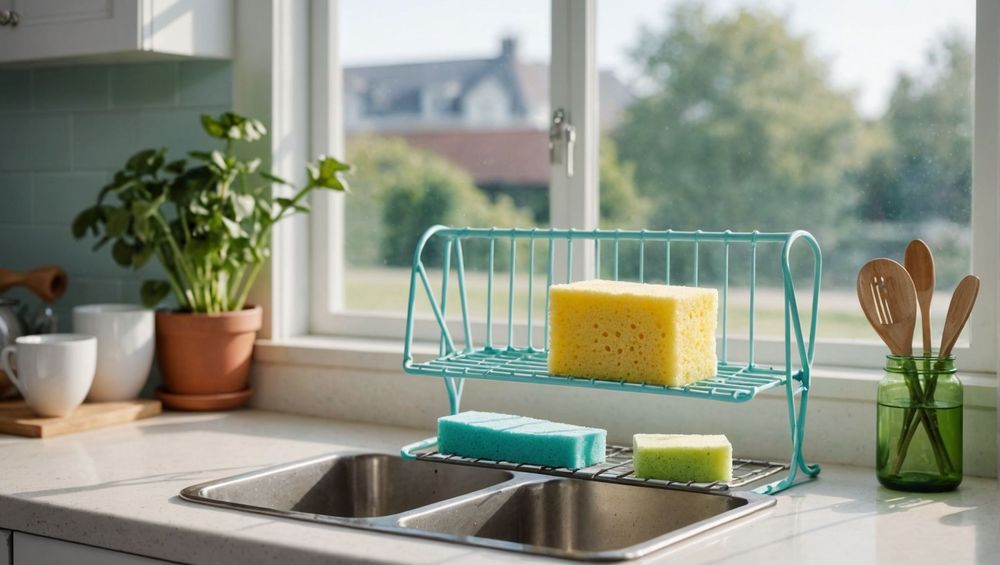
- Encourage air circulation around sponges by using a designated holder or drying rack.
Establishing these habits will enhance sponge cleanliness and prolong its life, giving you a more hygienic kitchen environment.
Conclusion
Cleaning your sponge regularly and effectively is critical in maintaining kitchen hygiene and safeguarding your health. By utilizing methods like microwaving, soaking in vinegar, or using bleach solutions, you can eliminate a significant amount of bacteria that might flourish in your sponge. Always be vigilant about the state of your sponge and replace it when necessary, as this simple act can make a world of difference in kitchen cleanliness. With an understanding of how to properly clean and maintain your sponge, you can ensure a healthier environment for food preparation and family well-being.
FAQs
1. How often should I clean my sponge?
You should clean your sponge at least every few days, but if you use it frequently or for messy cleanups, do it daily.
2. Can I put my sponge in the washing machine?
While it’s not recommended, you can put your sponge in a washing machine on a hot cycle, but results may vary.
3. What is the best method to kill bacteria in a sponge?
The microwave method is highly effective; microwaving a damp sponge for 2 minutes can kill a large fraction of bacteria.
4. Can I use a sponge that smells bad after cleaning it?
No. If your sponge retains an unpleasant smell after cleaning, it’s best to replace it instead of risking contamination.
5. What alternative can I use instead of a sponge?
Consider using disposable cleaning cloths, dish brushes, or microfiber cloths for cleaning tasks as alternatives to sponges.