Bathtubs can be a sanctuary for relaxation and self-care, but over time, they often become victims of wear and tear. If you’re staring at a chipped, dull, or outdated bathtub, you might be tempted to consider replacement. However, before you panic or shatter your budget, why not explore an enticing option—resurfacing? This approach allows you to restore the beauty of your bathtub without the hassle and high costs of a full remodel. In this guide, we will unveil easy techniques that empower homeowners to revamp their bathtubs with confidence, providing a sustainable solution that maintains both aesthetics and functionality.
Resurfacing not only rejuvenates the surface but also extends the lifespan of your tub. It’s a process that can transform your outdated bathroom fixture into a gleaming centerpiece that feels brand new. Additionally, the satisfaction of doing it yourself can be incredibly rewarding. With the right tools, a bit of patience, and keen attention to detail, you’ll soon see that resurfacing your tub isn’t just a dream, but a feasible project. Allow yourself the joy of creativity and customization, and read on as we delve deeper into the world of bathtub resurfacing.
Understanding Bathtub Resurfacing
Before you dive into the actual resurfacing techniques, it’s crucial to grasp the fundamentals of the process. Bathtub resurfacing generally involves applying a new layer of finish to the existing surface. This can correct damages like scratches and stains, restoring your tub to its former glory. The benefits are numerous— not only is it cost-effective compared to buying a new tub, but it also minimizes waste and can be completed in a fraction of the time.
So, what exactly can you expect during the resurfacing process? It typically includes cleaning, repairs, and finally, the application of a new finish. It’s important to remember that while you can achieve excellent results through DIY methods, this job requires careful preparation and execution. Having the right mindset and approach will play a critical role in the success of your project.
Preparing for the Resurfacing Process
Preparation is paramount when embarking on a bathtub resurfacing project. If you skip this step, you might find that your efforts yield less than stellar results. Below are several steps to ensure you’re ready to go:
- Assess the condition of your bathtub to determine the extent of repairs needed.
- Gather all necessary materials and tools before starting the job.
- Take time to clean the surface thoroughly, removing any dirt and grime.
- Follow safety guidelines, including proper ventilation and protective gear.
- Familiarize yourself with the resurfacing technique you plan to use.
Gather Your Materials
Having the right tools on hand can streamline your surfacing process significantly. Here’s a comprehensive list of materials you may need:
- Cleaning supplies (detergent, scrub brushes, and sponges)
- Safety gear (masks, gloves, and goggles)
- Resurfacing kit (specific to your bathtub type)
- Masking tape for protecting surrounding areas
- Sandpaper for smoothing rough spots
Clean the Bathtub Thoroughly
Cleaning is essential to achieving a professional finish. Start by scrubbing the tub with an effective cleaner to remove soap scum, hard water deposits, and any existing residues. Pay special attention to the areas around the drain and faucet, as these spots often harbor lingering grime. After cleaning, rinse the tub thoroughly with water and let it dry completely. A clean surface will adhere better to the new finish, helping to achieve a durable result that you’ll be pleased with.
Step-by-Step Techniques for Resurfacing
Now that you’re well-prepared, it’s time to explore the actual resurfacing techniques. Below, we will outline two popular DIY methods and discuss their distinct advantages to help you make the best choice for your project.
DIY Resurfacing Techniques
For homeowners ready to roll up their sleeves, here are two effective resurfacing methods:
| Technique | Description | Pros |
|---|---|---|
| Spray-On Resurfacing Kit | A simple aerosol application that can be done quickly. | Fast application and easy cleanup. |
| Epoxy Coating | A durable finish created by mixing and applying epoxy resin. | Long-lasting and resistant to wear and tear. |
Choosing between these methods depends on your comfort level and the specific condition of your bathtub. The spray-on resurfacing kit is ideal for quick projects, while epoxy coating provides a more robust and lasting solution. Both options will allow you to achieve remarkable results, so consider which one aligns best with your renovation goals.
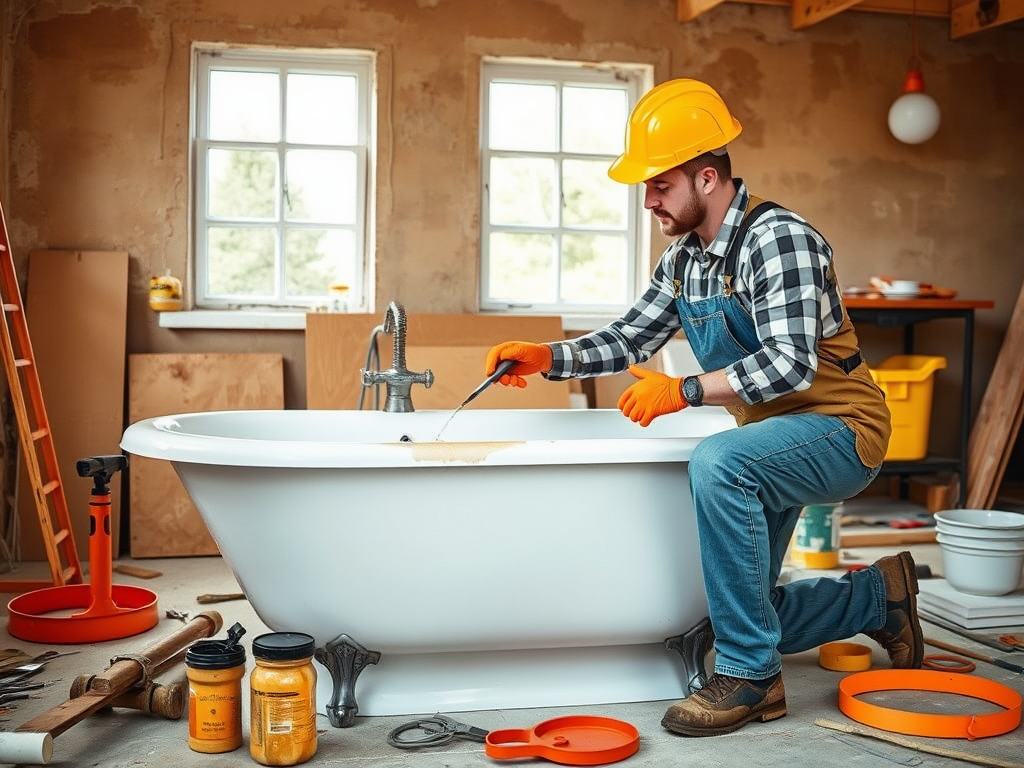
When to Hire a Professional
While many homeowners can successfully resurface their bathtubs, specific circumstances call for a professional touch. If you encounter extensive damage, such as deep cracks or severe discolorations, or if you’re simply lacking the time or tools, consider consulting a professional. They bring expertise, ensuring quality results and a level of finish that’s hard to replicate for beginners.
Maintaining Your Resurfaced Bathtub
The work doesn’t end once the resurfacing is complete. Proper maintenance is essential to prolong the life of your newly resurfaced tub. Here are some key tips for caring for your bathtub:
- Avoid harsh cleaning agents that can damage the new finish.
- Use soft cloths or sponges for cleaning to prevent scratches.
- Rinse the tub after every use to minimize buildup.
- Refrain from standing on the sides or putting excessive weight on the tub.
- Consider applying a protective coating to shield the surface.
Conclusion
Resurfacing a bathtub is a rewarding project that can significantly enhance your bathroom’s appeal while saving you money. By following the techniques outlined in this guide, you can transform your bathtub into a fresh, vibrant space for relaxation. Remember to prepare thoroughly, choose the resurfacing method that best suits your skills and needs, and maintain your tub diligently after the job is complete. Not only will you enjoy a beautiful bathtub, but you’ll also take pride in knowing you accomplished it yourself.
Frequently Asked Questions
- How long does bathtub resurfacing last? Typically, a resurfaced bathtub can last anywhere from 5 to 10 years, depending on maintenance and usage.
- Can I use my bathtub immediately after resurfacing? It is generally recommended to wait at least 24-48 hours before using the tub to allow the finish to cure properly.
- Is bathtub resurfacing safe? Yes, as long as safety precautions are followed, including proper ventilation and the use of protective gear.
- What if my bathtub has deep scratches? Deep scratches may require professional resurfacing to ensure a smooth finish, though minor imperfections can often be sanded down before applying a new surface.
- How much does bathtub resurfacing cost? The cost can vary depending on whether you DIY or hire a professional, but it typically ranges from $300 to $500 for a professional job.